Using linux with GNOME DE and want to add more dynamic wallpapers? Lets see how to make it and I’ll also show you how to add macOS heic wallpaper into linux.
Overview
There are many DE (Desktop Environments), one of which I’ll try to discuss here is GNOME. Now, modern GNOME is supports dynamic wallpaper. Which is where wallpaper will change over time and look immersive.
Requisite
- Any linux OS with GNOME DE, here I use debian.
- Internet connection of course, that’s why you come here 😉
- Wallpapers with time based change.
- (optional) this is optional but I use it here hehe… Get macOS heic wallpaper here.
How To
Give Linux Support for HEIF/HEIC File Format
Note that I use debian linux. You can get similar command for other linux distribution by searching from google
- Install heif/heic support package by running
sudo apt install libheif1 libheif-dev heif-gdk-pixbuf. - Get any macOS heic wallpaper here. Find wallpaper you like.
- By default linux debian didn’t support to open heic file, now you can convert heif/heic file by installing with command
sudo apt install libheif-examples. Now you can run heif-convert command to convert heic file. - In Downloads directory, if you download heic file there, run this command
heif-convert wallpaper.HEIC output.JPGto convert heic file into sequential images (output-1.jpg, output-2.jpg, etc).
By now you can get sequential images from macOS heic file that you can make it into dynamic wallpaper.
Add Dynamic Wallpaper to GNOME Settings
- To create sequential dynamic wallpaper easily, install Dynamic Wallpaper Editor from Flathub App Store. If you don’t have flathub store yet, you can follow installation guide from flathub page. If you have install flathub then install Dynamic Wallpaper Editor here.
Using Dynamic Wallpaper App
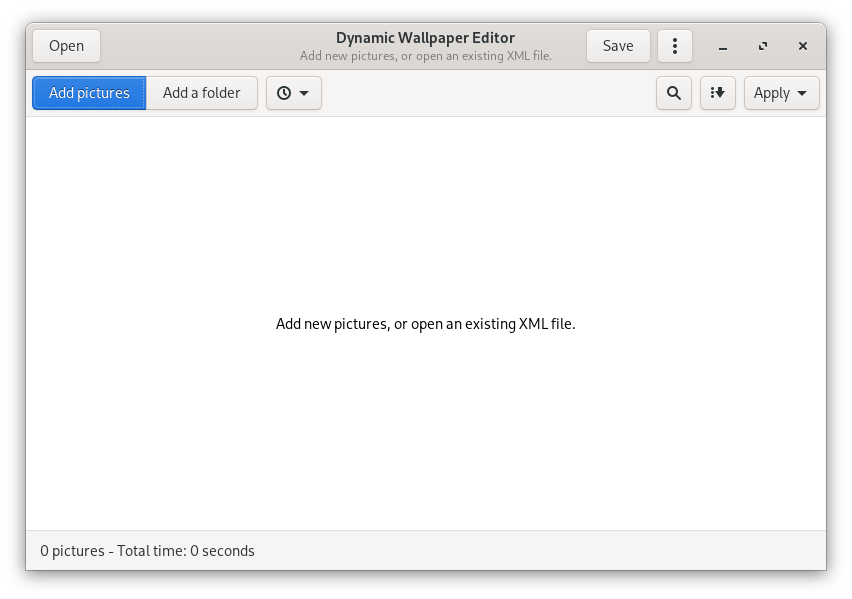
- Open Dynamic Wallpaper app.
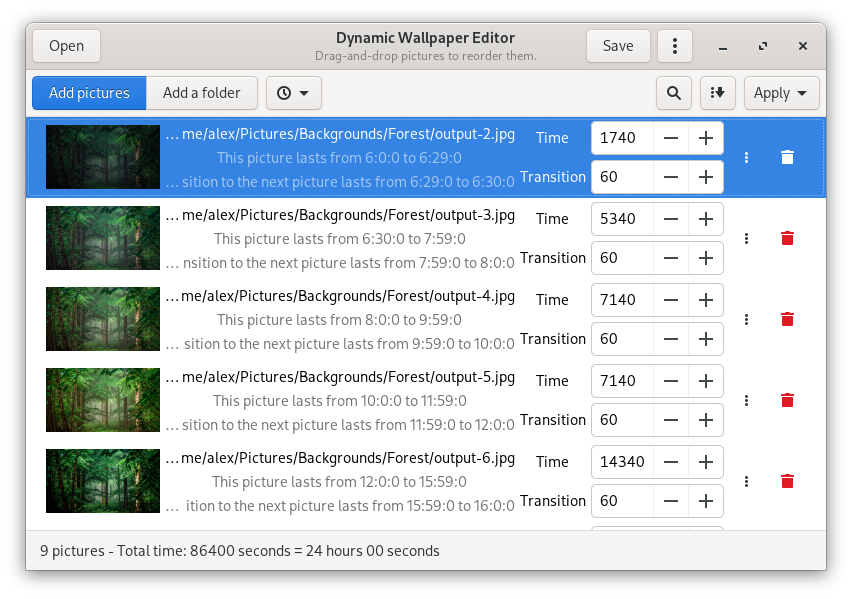
- Add pictures one by one or use add a folder to add extracted images in a folder.

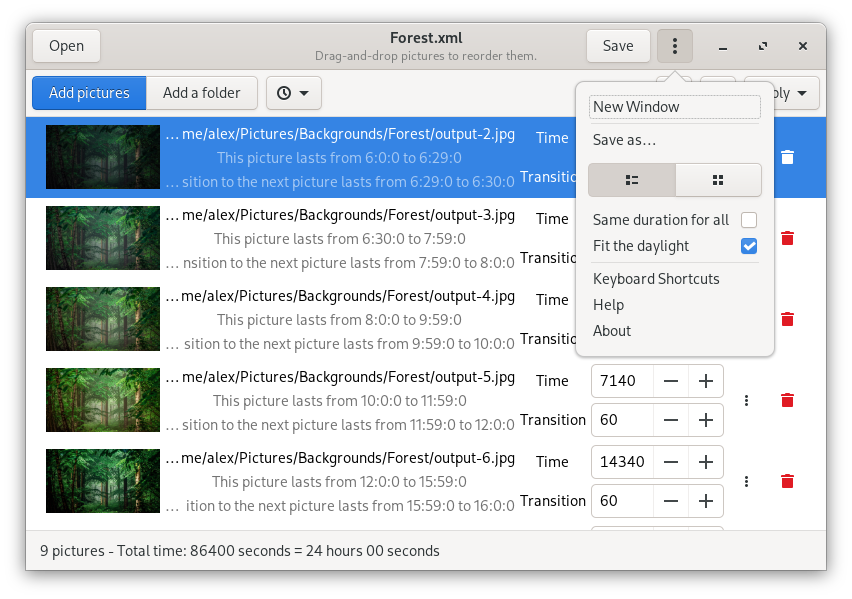
- You can check fit the daylight to make images in 24 hours start from 6AM.

- Sort images to match the daylight and give time in seconds. Then save them. This app will save the config in xml format.

- Next you can move your xml file in your desired location. For me, I place my images folder in
~/Pictures/Backgrounds/[images_folder]and my xml config in~/Picture/Backgrounds/[config_file].xmlfor easy access.
Configuring Setup to GNOME Settings
- For user privileges, you can create xml config in
~/.local/share/gnome-background-properties/[filename].xml. Or for root privileges, you can create xml config in/usr/share/gnome-background-properties/[filename].xml.1 2 3 4 5 6 7 8 9 10 11 12 13 14 15 16 17 18 19 20 21 22 23<?xml version="1.0" encoding="UTF-8"?> <!DOCTYPE wallpapers SYSTEM "gnome-wp-list.dtd"> <wallpapers> <wallpaper> <name>Night</name> <filename>/home/myuser/Pictures/Backgrounds/Night.xml</filename> <options>zoom</options> <pcolor>#000000</pcolor> <scolor>#000000</scolor> <shade_type>solid</shade_type> </wallpaper> <wallpaper> <name>Forest</name> <filename>/home/myuser/Pictures/Backgrounds/Forest.xml</filename> <options>zoom</options> <pcolor>#000000</pcolor> <scolor>#000000</scolor> <shade_type>solid</shade_type> </wallpaper> <wallpaper> ... </wallpaper> </wallpapers> - Open Settings and select Background and now you can see you brand new created dynamic background for GNOME DE.
That’s how you can create custom dynamic wallpaper in linux using GNOME DE. See that your wallpaper now changes overtime depend on your config. And not forget to say, thank you so much for visiting my site and read my post. See you again next post. 👋